The Step-by-Step Guide to Paint Correction Before Ceramic Coating in Richmond in Ceramic Coating Richmond, VA
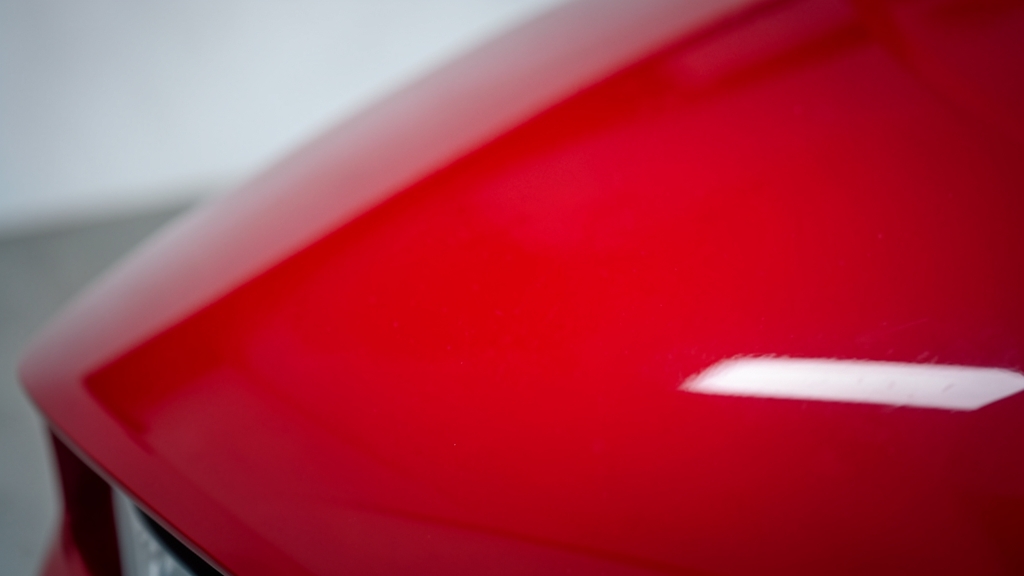
Ceramic coatings bond permanently to your vehicle’s clear coat, so any imperfections will be locked in forever. That’s why professional paint correction is non-negotiable before applying a coating in Richmond’s harsh UV and pollen-heavy seasons. We’ll walk you through the exact process our team uses to ensure a mirror-finish foundation.
Why Paint Correction Is Non-Negotiable Before Ceramic Coating
Ceramic coatings amplify every flaw—swirls, scratches, and oxidation become permanently magnified under the gloss. In Richmond, tree sap, road salt, and intense sun accelerate these defects, making prep even more critical.
A coating won’t hide imperfections; it preserves them. Proper correction restores clarity, depth, and reflectivity, ensuring the ceramic layer adheres to a pristine surface for maximum durability and shine.
Applying ceramic coating over swirls or scratches traps them under the hydrophobic layer. Correction is the only way to achieve a true showroom finish.
Assessing Your Paint: What to Look For in Richmond’s Climate
Richmond’s humidity and temperature swings cause paint to expand and contract, leading to micro-scratches and crazing. Inspect under direct sunlight or with a paint inspection light to spot these issues.
Common local culprits include water spots from hard mineral deposits, pollen etching, and UV-induced oxidation. A paint thickness gauge helps determine if correction is safe or if the clear coat is too thin.
Tools and Products Our Team Uses for Professional Correction
We rely on dual-action (DA) polishers like the Rupes BigFoot or Flex PE14 for controlled, swirl-free results. Foam and microfiber cutting pads paired with diminishing abrasive compounds tackle defects without overworking the clear coat.
Finishing polishes and fine polishing pads refine the surface to a jewel-like clarity. IPAs (isopropyl alcohol solutions) and clay bars remove embedded contaminants before any machine work begins.
| Tool/Product | Purpose | When Used |
|---|---|---|
| Clay Bar & Lubricant | Removes embedded contaminants | Pre-correction decontamination |
| DA Polisher | Machine-based defect removal | Compounding and polishing stages |
| Cutting Compound | Removes deep scratches/swirls | First correction pass |
| Finishing Polish | Refines surface to high gloss | Final polishing stage |
| Paint Thickness Gauge | Measures clear coat depth | Pre- and post-correction check |
Step 1: Deep Cleaning and Decontamination
Start with a thorough two-bucket wash using pH-neutral shampoo to remove surface dirt. Richmond’s oak pollen and road grime demand extra attention to wheel wells and lower panels.
After drying, use a clay bar with a lubricant to pull out embedded iron particles, industrial fallout, and tar. This step is critical—skipping it risks marring the paint during correction.
Step 2: Paint Inspection and Defect Mapping
Under halogen or LED lights, systematically inspect the vehicle for swirls, scratches, holograms, and oxidation. Mark problem areas with painter’s tape for targeted correction.
Check paint thickness at multiple points. Thin clear coat (under 2 mils) may limit aggressive correction. In Richmond, older vehicles often need extra care due to sun damage.
Use a cross-hatched light pattern to reveal swirls and scratches from all angles. A cheap but powerful LED work light on a stand works wonders.
Step 3: Compounding for Defect Removal
With a DA polisher and a cutting pad, apply a coarse compound to the worst defects. Work in small sections, using moderate pressure and slow arm speed to avoid heat buildup.
Richmond’s summer heat can cause compounds to dry too quickly. Keep a spray bottle of water or detailer’s quick detail spray nearby to maintain lubrication.
Step 4: Polishing for Clarity and Gloss
Switch to a finer polish and a softer pad to refine the surface. This step removes the micro-marring left by compounding and restores deep, reflective shine.
For dark-colored vehicles common in Richmond (black, navy, deep red), this stage is where the ‘wet’ look emerges. Take your time—rushing here defeats the purpose.
When to Call in the Pros for Paint Correction in Richmond
DIY correction is risky for deep scratches, severe oxidation, or vehicles with thin paint. Our team in Richmond, Henrico, and Chesterfield uses precision tools to avoid burning through clear coat.
For high-end or classic cars in Mechanicsville or Glen Allen, professional correction ensures value preservation. We also handle fleet vehicles in Midlothian, where efficiency and consistency matter.
How to Prep Your Car for Ceramic Coating After Correction
After correction, the surface must be absolutely clean and contaminant-free before coating application.
- 1Final Wash and Decontamination
Perform another two-bucket wash with a pH-neutral shampoo to remove any polishing residues. Use a clay bar one last time to ensure zero embedded particles.
- 2IPA Wipe-Down
Spray a 50/50 mix of isopropyl alcohol and distilled water on a microfiber towel to remove oils, fingerprints, and any remaining wax or sealants. This step is critical for adhesion.
- 3Dry and Inspect
Use a blower or clean microfiber towels to dry the surface. Inspect under lights to confirm no swirls, dust, or streaks remain. Any missed defects will be permanent under the coating.
- 4Tape Off Trim and Edges
Apply painter’s tape to plastic trim, rubber seals, and emblems to prevent coating overspray. Precision here saves hours of cleanup later.
- 5Final Surface Prep
Use a dedicated ceramic prep spray or a final IPA wipe to ensure the surface is chemically clean. This step primes the clear coat for optimal bonding with the ceramic coating.
Frequently Asked Questions
How long does paint correction take before ceramic coating in Richmond?
A full correction on a standard sedan typically takes 4-8 hours, depending on defect severity and vehicle size. Larger vehicles or those with heavy oxidation may require a full day. Request a quote for an exact estimate based on your car’s condition.
Can I ceramic coat my car without paint correction?
Technically yes, but the results will be lackluster. The coating will lock in swirls, scratches, and dullness, defeating its purpose. Correction ensures the coating bonds to a flawless surface, maximizing gloss and longevity.
Is paint correction safe for my car’s clear coat?
When done correctly by professionals, yes. We measure paint thickness before and after to ensure we’re not removing too much clear coat. DIY attempts with improper tools or techniques can cause permanent damage.
How often should I redo paint correction in Richmond’s climate?
With proper care, professional correction can last 1-2 years. However, Richmond’s UV exposure, pollen, and road debris may necessitate touch-ups sooner. Regular maintenance washes and decontamination extend the life of your correction.
Does paint correction remove all scratches?
It removes most light to moderate scratches and swirls. Deep scratches that penetrate the clear coat may require wet sanding or, in severe cases, repainting. Our team assesses each vehicle individually to determine the appropriate approach.
What areas around Richmond do you serve for paint correction and ceramic coating?
We serve Richmond and the surrounding areas, including Henrico, Chesterfield, Mechanicsville, Midlothian, and Glen Allen. Our mobile team can also accommodate fleet or commercial vehicles at your location.